Stages of an ecological brick build: masonry
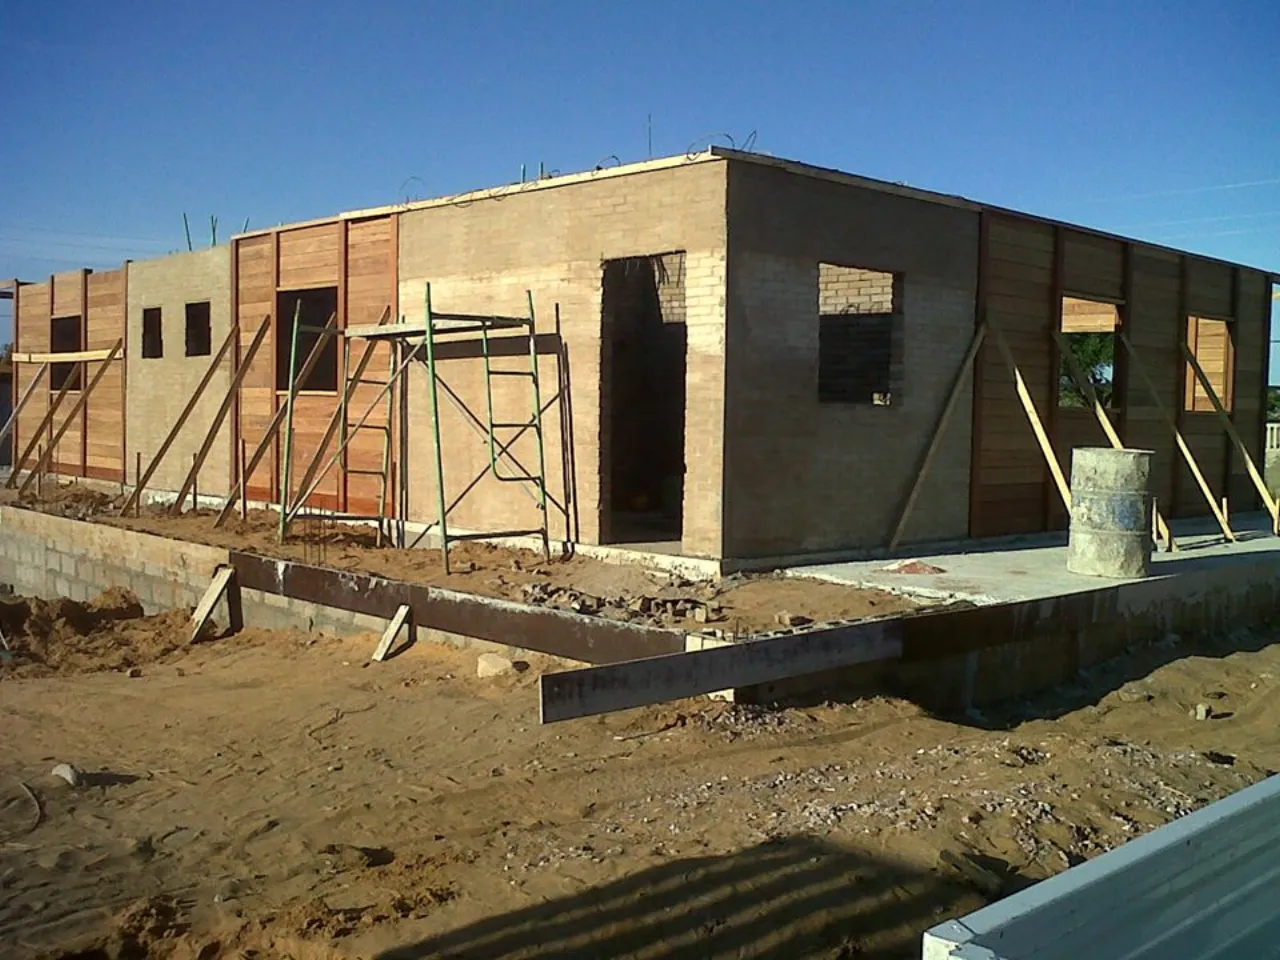
The first course, grouting and the advantages of raising the wall already finished, in 5 days.
This stage demands a lot of attention when reading the plans. The key point is the first course: the marks for the plumbing, sewage and electrical services, the frames and the starter bars must line up with the holes in the soil-cement brick, always checking that the masonry is level and plumb.
The first course is laid with sand and cement mortar, and the following layers are made with soil-cement. Every five courses there is grouting (filling with concrete) at the column points and near the frames, which support the lintels and sills.
Two to three lengths of rebar are used. At the splice point one more piece is added, averaging 1.5 m, with a 30 cm overlap tied with wire at three points.
At 1.5 m, at the scaffold level, the plumbing and electrical pipes go up along with the walls. At the desired ceiling height (2.625 m in this build), a channel block with rebar is laid to tie the walls together.
Advantages of this stage
- Savings in materials.
- No conduits are needed, because the holes in the brick protect the pipes.
- Mortar is used only on the first course: the following layers are joined with soil-cement.
- A clean site.
- No wood is needed for column and beam forms: the channel blocks and holes do that job.
- The masonry goes up already finished, with no need for plastering.
It took 5 days to raise the finished masonry.